Setting up a small-scale crop farm can be a rewarding venture, both financially and personally. Whether you are looking to grow food for your family, sell produce at local markets, or simply enjoy the process of farming, there are several key steps to consider. This article will guide you through the essential stages of establishing a small-scale crop farm, from planning and preparation to planting and harvesting.
Planning Your Small-Scale Crop Farm
Before you start planting, it’s crucial to have a well-thought-out plan. This involves selecting the right crops, understanding your soil, and preparing your land. Proper planning can save you time, money, and effort in the long run.
Selecting the Right Crops
The first step in planning your farm is to decide what crops you want to grow. Consider factors such as climate, soil type, and market demand. Some crops are more suited to certain climates and soil conditions than others. For example, tomatoes and peppers thrive in warm climates, while leafy greens like spinach and lettuce prefer cooler temperatures.
Additionally, think about the market demand for your chosen crops. Research local farmers’ markets, grocery stores, and restaurants to see what types of produce are in demand. Growing popular crops can increase your chances of selling your produce and making a profit.
Understanding Your Soil
Soil quality is a critical factor in the success of your farm. Conduct a soil test to determine its pH level, nutrient content, and texture. This information will help you understand what amendments, if any, are needed to optimize your soil for crop growth.
Soil pH affects nutrient availability to plants. Most crops prefer a pH range of 6.0 to 7.0. If your soil is too acidic or too alkaline, you may need to add lime or sulfur to adjust the pH. Additionally, consider adding organic matter, such as compost or manure, to improve soil structure and fertility.
Preparing Your Land
Once you have selected your crops and assessed your soil, it’s time to prepare your land. This involves clearing any existing vegetation, tilling the soil, and creating planting beds. Proper land preparation ensures that your crops have the best possible environment to grow.
Start by removing any weeds, rocks, or debris from your planting area. Use a tiller or plow to break up the soil and incorporate organic matter. Creating raised beds can improve drainage and make it easier to manage your crops. Mark out your planting rows and ensure they are evenly spaced to allow for proper air circulation and sunlight exposure.
Planting and Caring for Your Crops
With your land prepared, you can begin planting your crops. This section will cover the basics of planting, watering, fertilizing, and pest management to help you grow healthy, productive plants.
Planting Your Crops
Follow the specific planting instructions for each crop, including planting depth, spacing, and timing. Some crops, like beans and peas, can be directly sown into the soil, while others, like tomatoes and peppers, may need to be started indoors and transplanted later.
Pay attention to the recommended planting dates for your region. Planting too early or too late can affect germination and growth. Use a planting calendar to keep track of when to plant each crop and ensure a continuous harvest throughout the growing season.
Watering and Irrigation
Proper watering is essential for healthy crop growth. Most crops require consistent moisture, especially during germination and early growth stages. However, overwatering can lead to root rot and other issues.
Consider installing an irrigation system, such as drip irrigation or soaker hoses, to provide consistent and efficient watering. These systems deliver water directly to the root zone, reducing water waste and minimizing the risk of disease. Monitor soil moisture regularly and adjust your watering schedule based on weather conditions and crop needs.
Fertilizing Your Crops
Crops require a variety of nutrients to grow and produce a good yield. Fertilizing your crops ensures they have access to the necessary nutrients. Use a balanced fertilizer that provides essential nutrients like nitrogen, phosphorus, and potassium.
Organic fertilizers, such as compost, manure, and fish emulsion, are excellent options for small-scale farms. They improve soil health and provide a slow-release source of nutrients. Apply fertilizers according to the specific needs of each crop and avoid over-fertilizing, which can harm plants and the environment.
Pest and Disease Management
Pests and diseases can significantly impact your crop yield. Implementing integrated pest management (IPM) practices can help you manage these issues effectively. IPM involves using a combination of cultural, biological, and chemical methods to control pests and diseases.
Start by selecting disease-resistant crop varieties and practicing crop rotation to reduce the risk of soil-borne diseases. Encourage beneficial insects, such as ladybugs and lacewings, which prey on harmful pests. If necessary, use organic pesticides and fungicides as a last resort, following the manufacturer’s instructions carefully.
Harvesting and Selling Your Produce
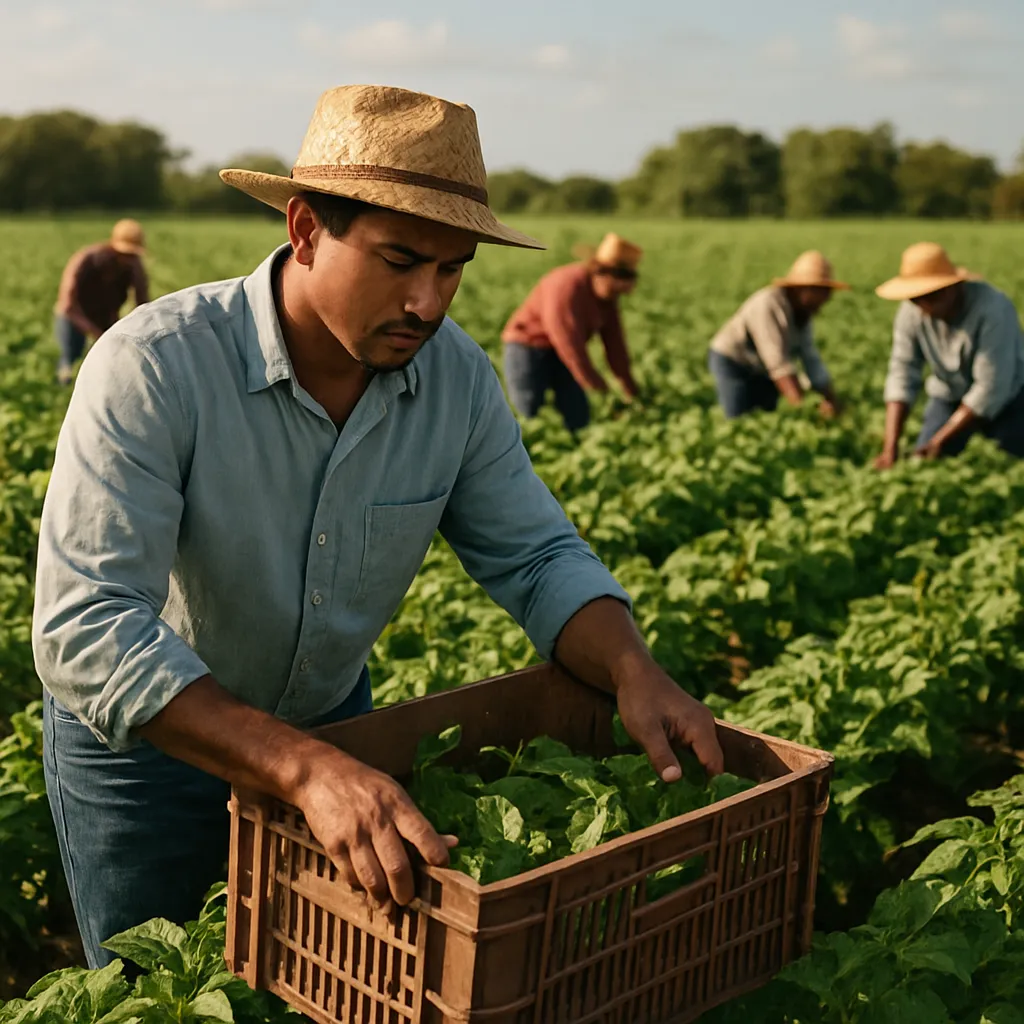
After months of hard work, it’s time to harvest your crops. Proper harvesting techniques and post-harvest handling are crucial to maintaining the quality and freshness of your produce. Additionally, finding the right markets to sell your produce can help you maximize your profits.
Harvesting Techniques
Each crop has specific harvesting requirements. Harvesting at the right time ensures optimal flavor, texture, and nutritional value. For example, tomatoes should be picked when they are fully colored but still firm, while leafy greens should be harvested when they are young and tender.
Use clean, sharp tools to harvest your crops and handle them gently to avoid bruising or damage. Harvest in the early morning or late afternoon when temperatures are cooler to preserve freshness. Immediately after harvesting, cool your produce to slow down the ripening process and extend shelf life.
Post-Harvest Handling
Proper post-harvest handling is essential to maintain the quality of your produce. Wash your crops thoroughly to remove dirt and debris. Use clean water and avoid soaking produce for extended periods, as this can lead to spoilage.
Sort and grade your produce based on size, color, and quality. Packaging your crops in clean, breathable containers helps prevent damage and extends shelf life. Store your produce in a cool, dark place until you are ready to sell it.
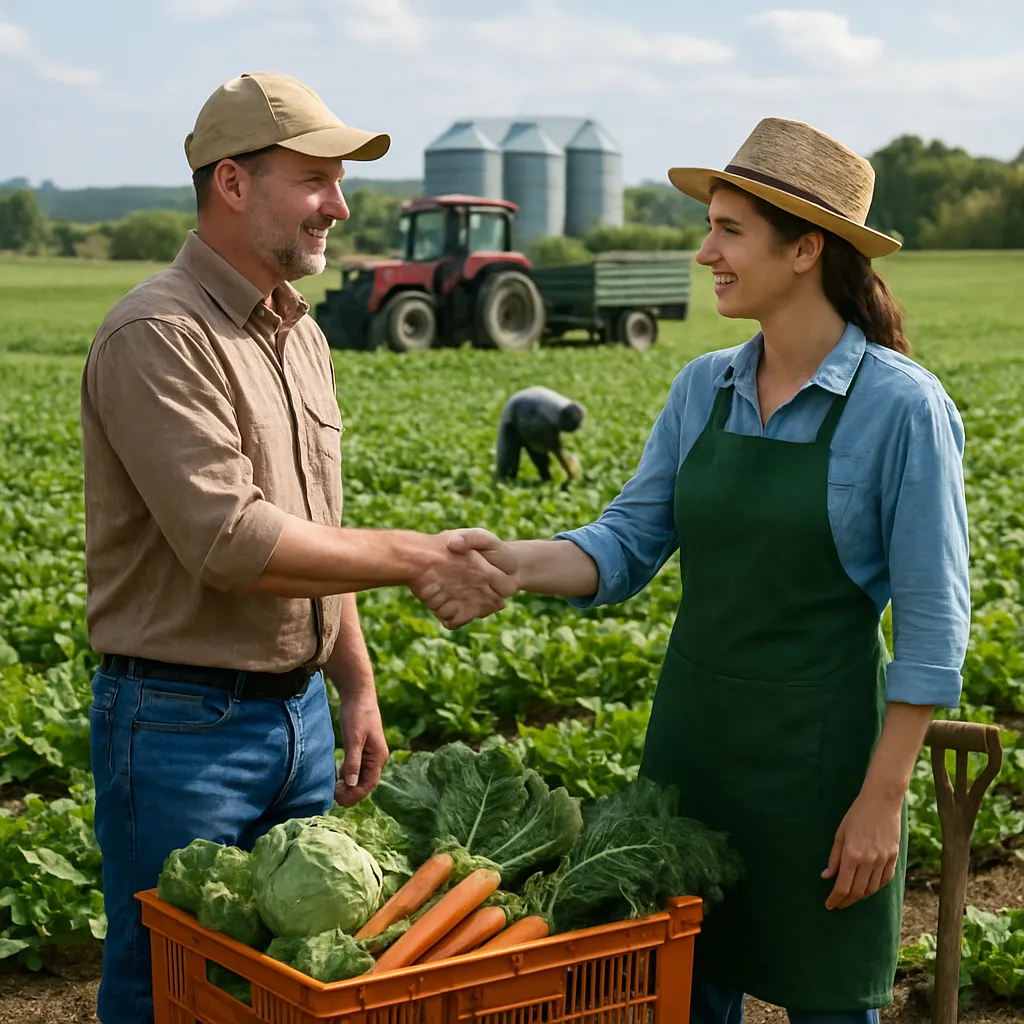
Selling Your Produce
There are several options for selling your produce, including farmers’ markets, community-supported agriculture (CSA) programs, and local grocery stores. Each option has its advantages and challenges, so choose the one that best fits your goals and resources.
Farmers’ markets are a popular choice for small-scale farmers. They provide an opportunity to connect directly with customers and receive immediate feedback on your produce. CSA programs involve selling shares of your harvest to customers who receive regular deliveries of fresh produce throughout the season. This model provides a steady income and helps build a loyal customer base.
Local grocery stores and restaurants may also be interested in purchasing your produce. Establishing relationships with local buyers can lead to long-term partnerships and consistent sales. Be prepared to provide samples and demonstrate the quality of your produce to potential buyers.
Conclusion
Setting up a small-scale crop farm requires careful planning, hard work, and dedication. By selecting the right crops, preparing your land, and implementing effective farming practices, you can create a successful and sustainable farm. Whether you are growing food for your family or selling produce to your community, the rewards of farming are well worth the effort. With patience and perseverance, you can enjoy the satisfaction of growing your own food and contributing to a healthier, more sustainable food system.